Why a Proper Survey Matters Before Commercial Floor Sanding
Running a busy site means your floors take a daily pounding from trolleys, prams, pallets, heels and the occasional coffee spill. When the time comes to refresh those boards, many estates teams assume the work is simply “machines, dust, varnish, done”. In reality, the choices you make before a single machine touches timber can be the difference between a flawless, durable finish and an expensive do-over that disrupts trade, annoys tenants, and ruins first impressions. If your estate team is planning Commercial Floor Sanding this year, this guide will help you avoid the pitfalls that catch out even experienced facilities managers.
Below are the 10 biggest mistakes organisations make—followed by practical fixes you can apply immediately. Use it as a checklist when scoping works, writing your brief, interviewing contractors and planning re-opening.
1) Skipping a proper survey and moisture testing
The mistake:
Accepting a quote based on a quick glance or photographs. Without a formal site survey—complete with moisture readings, substrate checks, finish identification, and repair notes—you’re guessing at time, cost and risk. Moist timber, hidden adhesive residues, failing subfloors or historic bitumen can all sabotage adhesion and cause cupping, peeling or patchy sheen.
How to fix it:
- Insist on a written pre-start survey that includes moisture meter readings for both the timber and subfloor.
- Ask your contractor to identify the existing finish (oil, hardwax, lacquer, UV-cured, factory finish) and specify the compatible removal/priming approach.
- Require a list of repairs (loose boards, protruding fixings, split blocks, missing tongues, thresholds, nosings) with a method statement and allowance.
- Build a contingency line (typically 10–15%) for unforeseen substrate issues revealed once sanding begins.
2) Poor phasing and access control that disrupt trading
The mistake:
Closing too much floor area at once, underestimating cure times, or failing to segregate work zones. Result: blocked fire routes, frustrated customers, and overnight programmes that overrun into trading hours.
How to fix it:
- Plan works in phases aligned to footfall patterns—nights, early mornings, school holidays or split-day windows.
- Create a traffic-flow plan with temporary ramps, clear signage and alternative routes for deliveries.
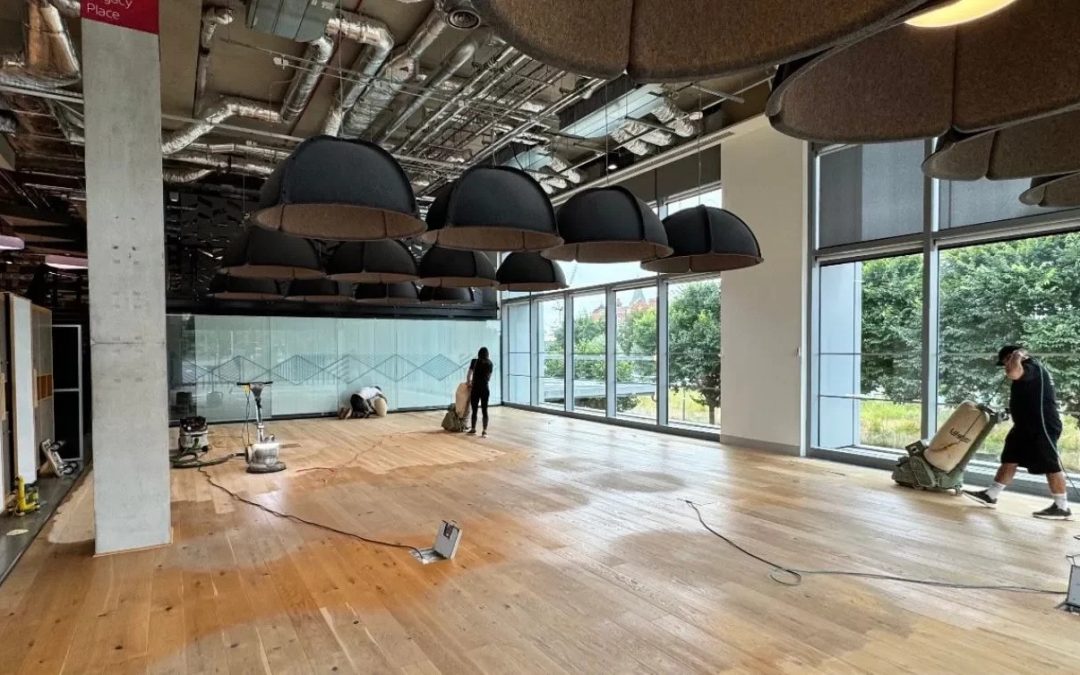
- Use dust containment and negative-pressure setups at zone boundaries to keep trading areas spotless while your team delivers Commercial Floor Sanding.
- Publish a daily programme for stakeholders (tenants, security, cleaners, H&S reps) so everyone knows what’s closed, when it reopens, and where to walk.
3) Choosing the wrong grit sequence (or skipping grits)
The mistake:
Starting too fine, jumping grits, or trying to “save time” by skipping intermediate passes. This leaves scratch patterns, wave marks and dishout that telegraph through the finish—especially under shop lighting.
How to fix it:
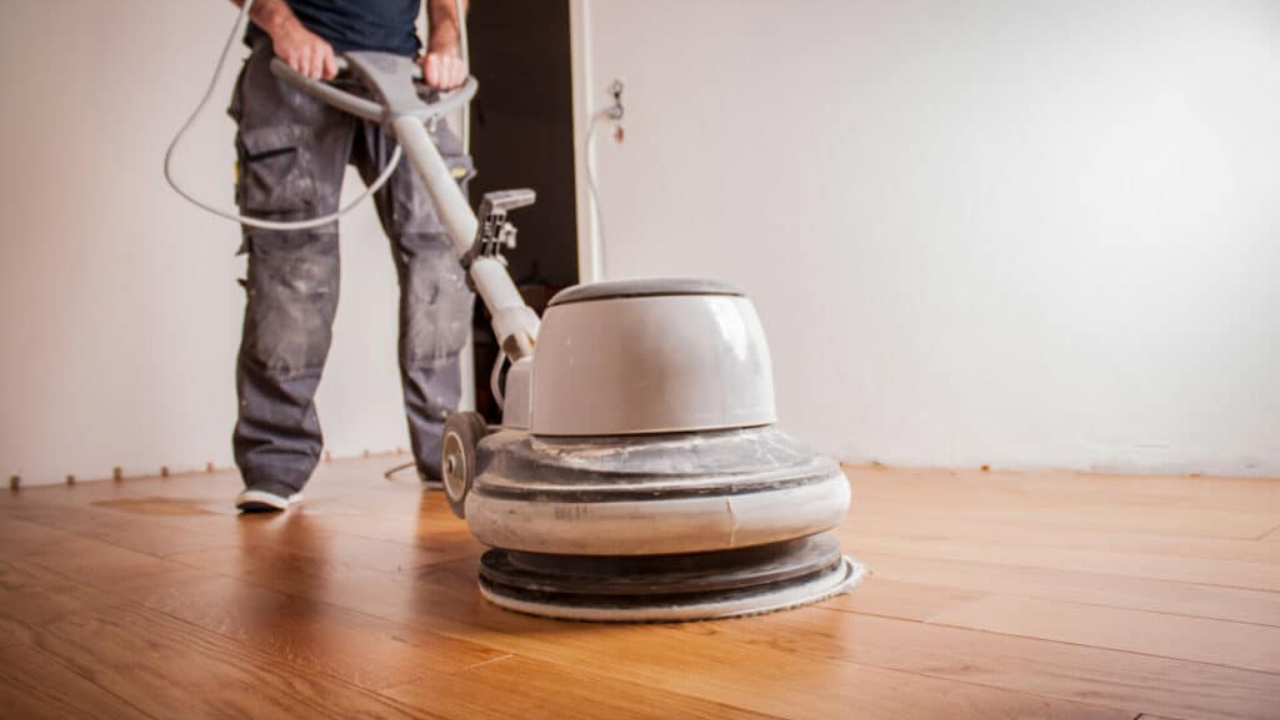
- Demand a documented grit schedule suited to your floor’s condition (e.g., 24/36 for heavy removal → 50 → 80 → 100/120 for finishing).
- Specify matching edge and corner workflows so the perimeters don’t differ from the field.
- Agree a trial area first: sign off the surface under raking light before the whole site proceeds.
4) Treating dust control as an optional extra
The mistake:
Relying on basic bag collection or open-bag machines. Fine particulate (including very fine wood dust) travels, clings to stock and sets off alarms from tenants long after the work has “finished”.
How to fix it:
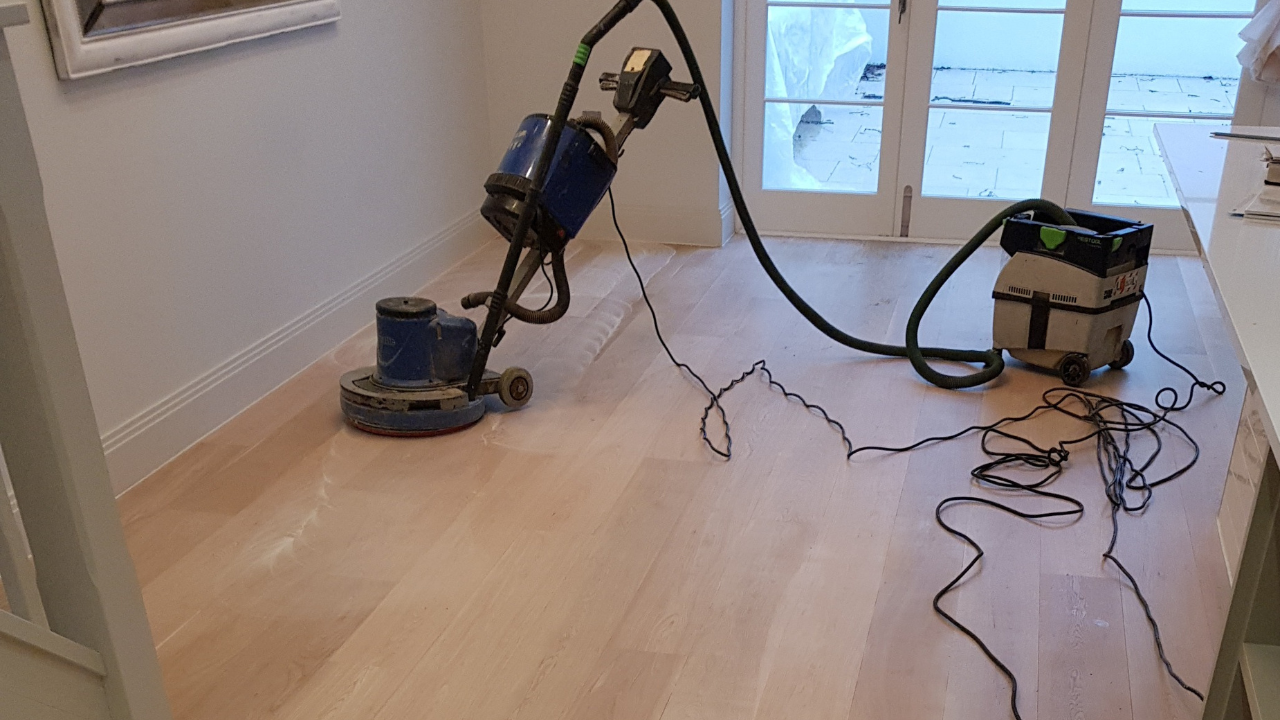
- Require modern, sealed extraction with HEPA filtration and regularly changed pre-filters.
- Include dust barriers, air scrubbers and a cleaning schedule for adjacent zones in your method statement.
- Ask for a clean-room style “white glove” test before handover, and insist on a spotless plant room and back-of-house.
- When you brief suppliers, state clearly that you expect Commercial Floor Sanding to be delivered with robust dust management so trading areas stay pristine.
5) Neglecting edge work, corners and transitions
The mistake:
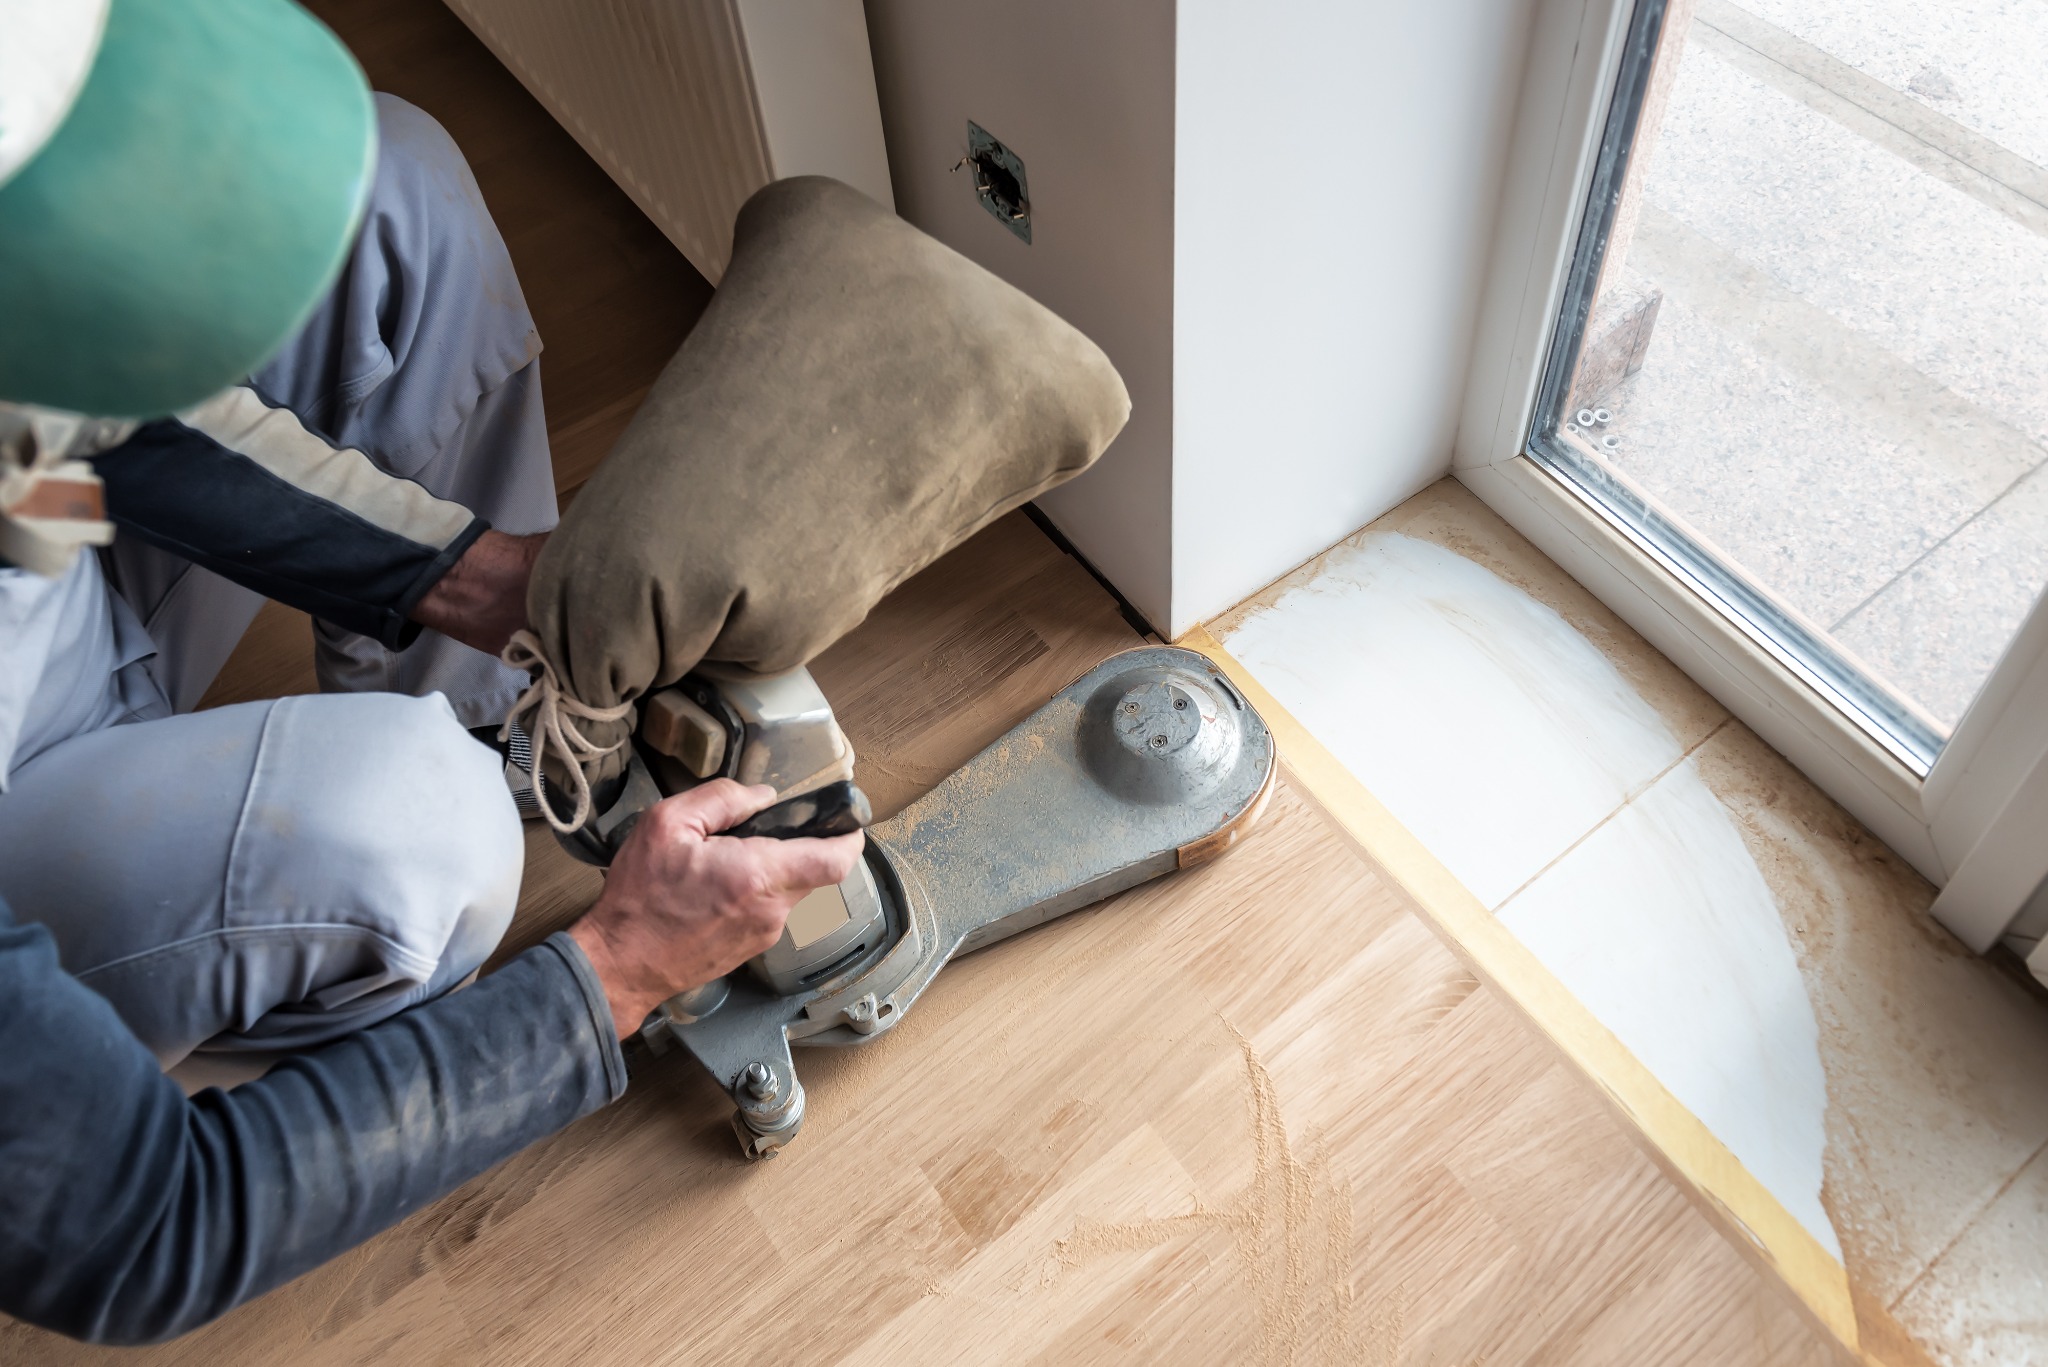
A floor can look superb in the centre yet show swirl marks, tramlines or sheen differences around skirtings, pillars and under radiators. Transitions at thresholds and nosings are frequent weak points, especially on staircases and ramps.
How to fix it:
- Ensure the scope includes edging, hand-scraping for tight spots, and profile sanding where large machines can’t reach.
- Specify protection or temporary removal of skirtings and trims where practical to achieve full access.
- Check that thresholds are sanded flat and blended; require sample boards at typical junctions (tile to timber, carpet to timber, vinyl transitions).
6) Using the wrong fillers—or forgetting movement
The mistake:
General-purpose fillers that shrink, crack or pop out under traffic. Resin-dust slurries can be perfect for hairline gaps but may fail in wider joints or on springy subfloors.
How to fix it:
- Match filler strategy to the gap: resin-bonded dust for microgaps, flexible specialist fillers for wider joints, and discrete splices where movement is significant.
- Include an allowance for pinning/screwing squeaky boards before filling; movement kills filler.
- Agree expectations: in large retail halls or sports areas with seasonal movement, a hairline “shadow” line is often normal and preferable to rigid, cracking fills.
7) Selecting an unsuitable finish for the environment
The mistake:
Defaulting to a “one-size-fits-all” finish. A boutique gallery with soft lighting and gentle footfall needs something different to a busy school or café with constant spills and stacking chairs. Slip resistance, maintenance intervals and repairability all change by environment.
How to fix it:
- Start with use-case first: footfall level, cleaning regime, spill risks, matting, trolleys, chair castors, and desired sheen.
- Balance durability vs. repairability: some lacquers offer superb wear but are trickier to patch; some oils are easy to refresh locally but need disciplined maintenance.
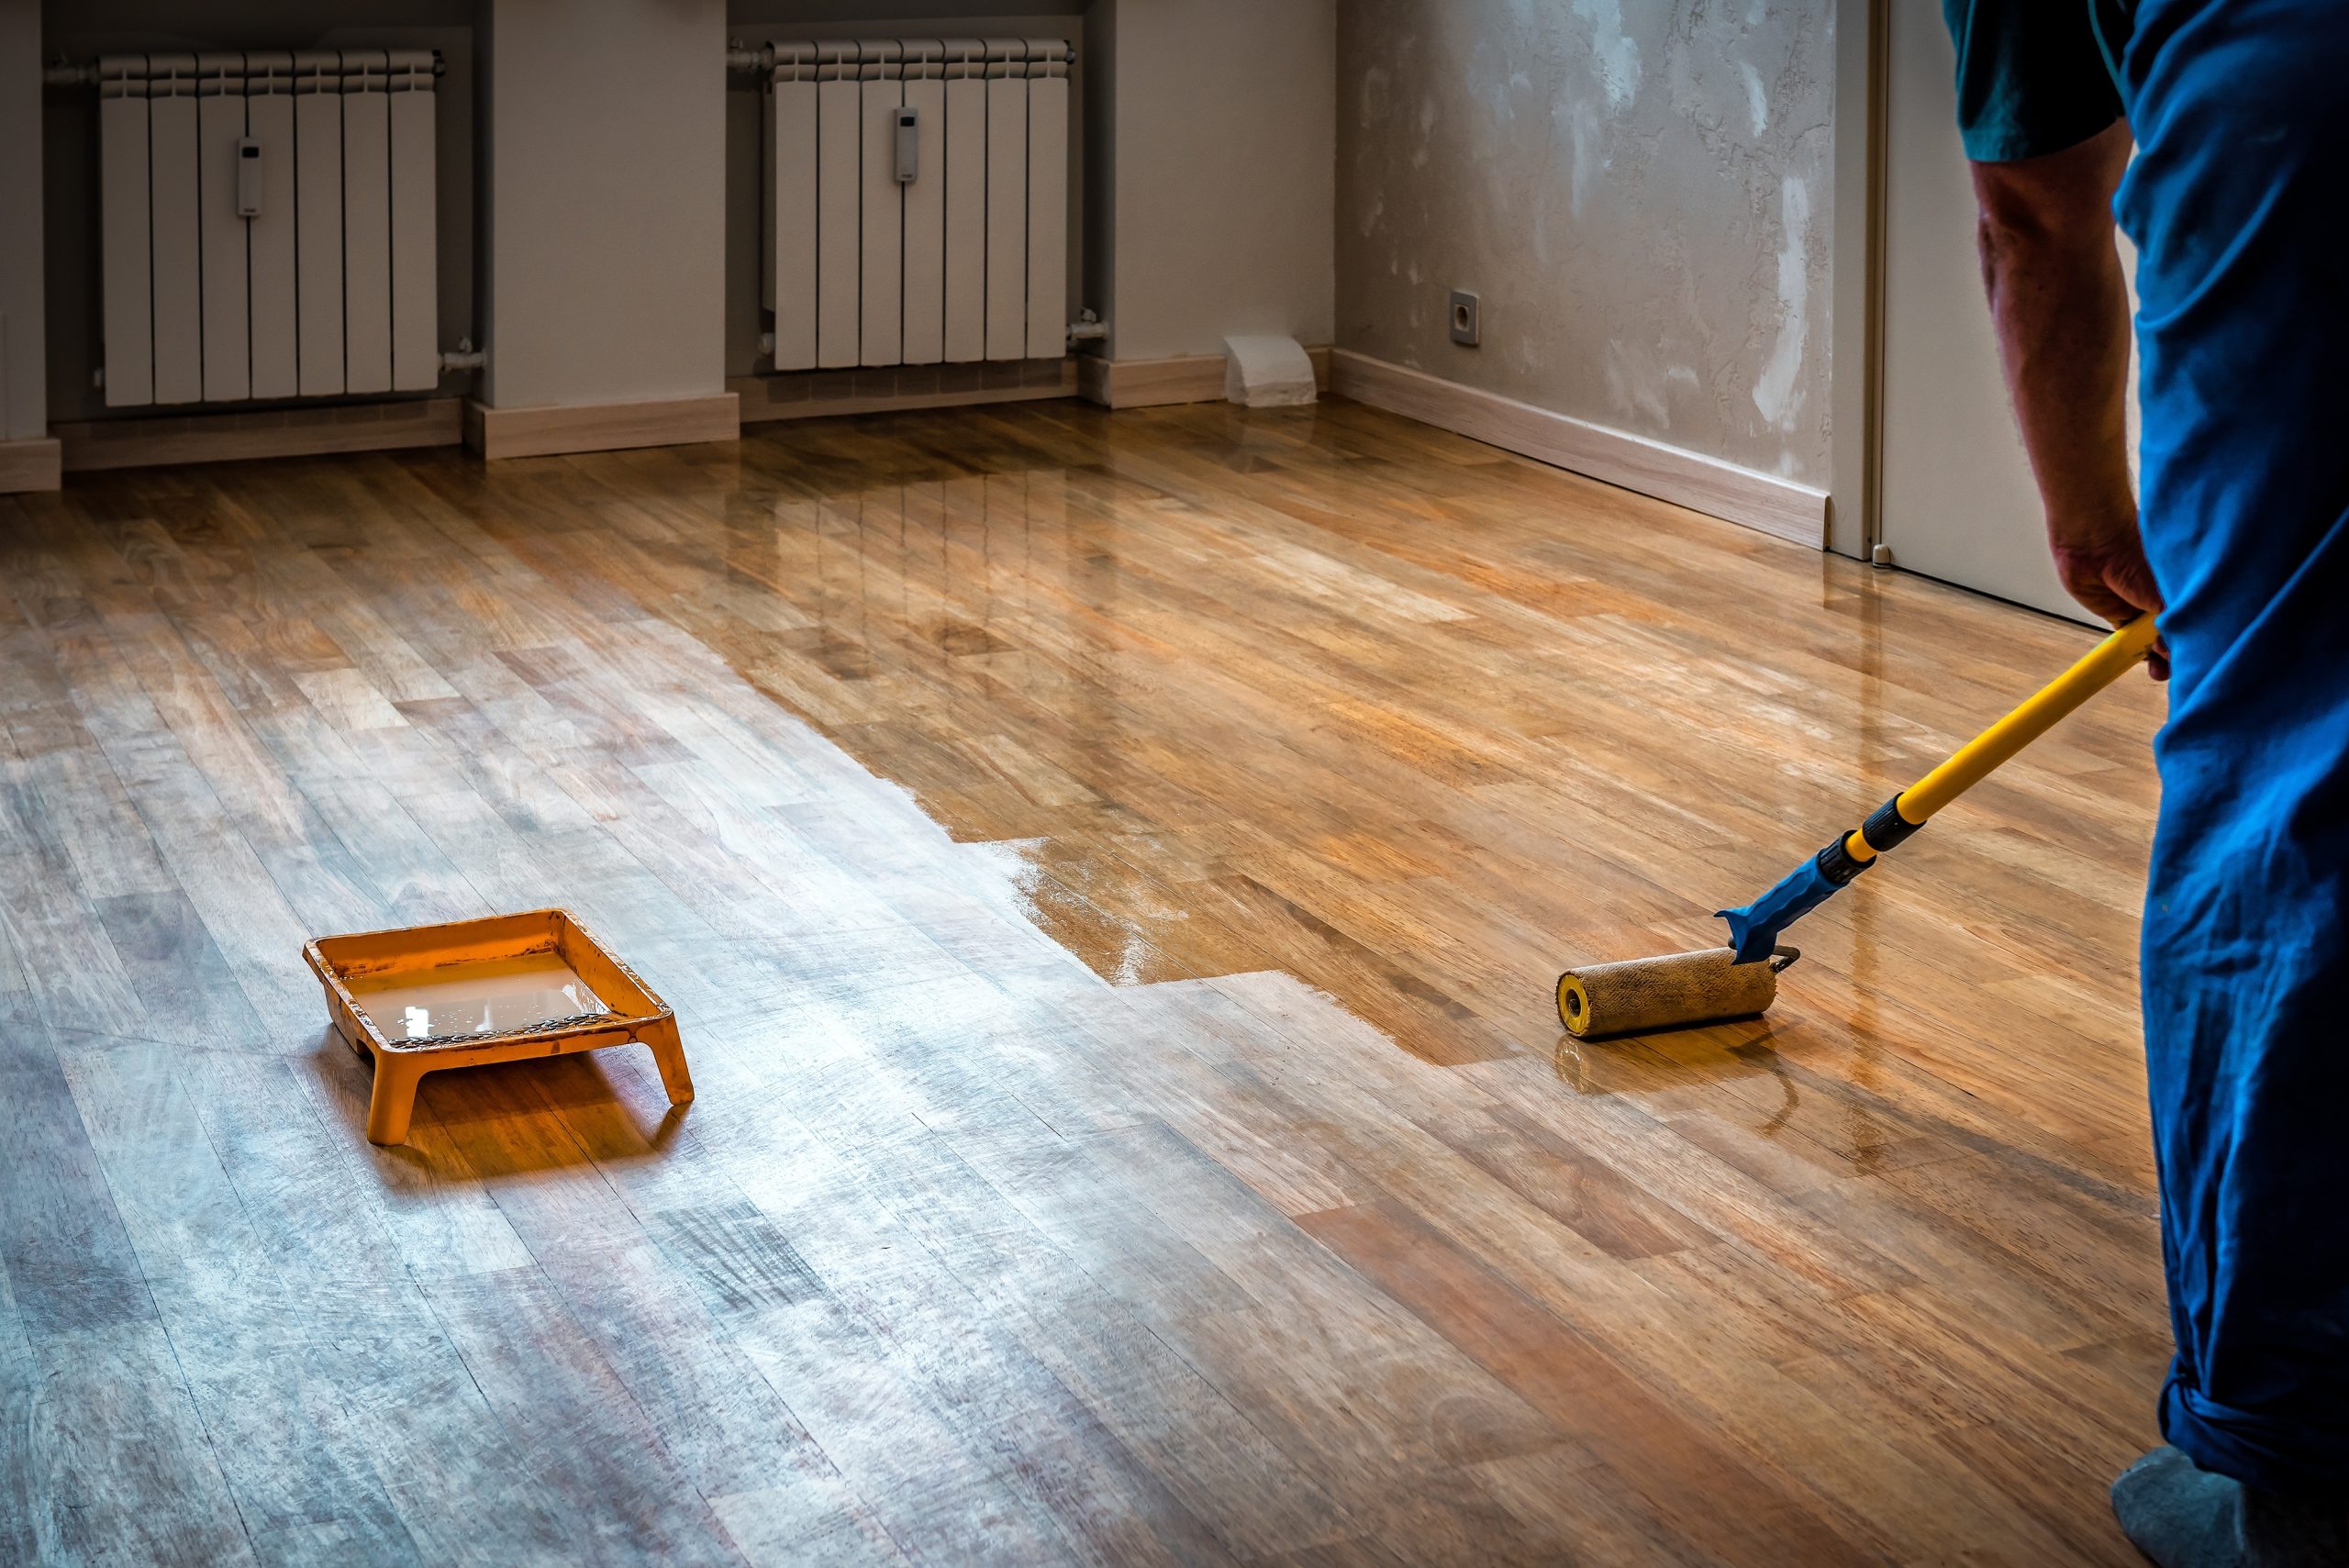
- Ask for a finish schedule that includes primers, coats, inter-coat abrasion, and cure times specific to your site conditions (temperature and humidity).
- In hospitality, education and healthcare, record slip-resistance data from the product data sheet and keep it with your O&M file. If you’re specifying a large programme of Commercial Floor Sanding, align the finish choice to housekeeping realities—what your cleaning team can actually maintain.
8) Rushing the cure and return-to-service
The mistake:
Walking on the floor too soon, stacking stock, or rolling heavy displays within hours of the last coat. Even when a finish is “dry to touch”, it may not be cured enough for point loads, chair legs, or pallet trucks.
How to fix it:
- Obtain written cure windows for light foot traffic, furniture placement, and full service/heavy loads.
- Use felt pads, chair glides and temporary protective sheets during the first week.
- Stagger the return of fixtures and set clear rules with tenants: no tape directly on new finish; use protective layers for merchandising changes.
9) No maintenance plan (or the wrong products)
The mistake:
Assuming a new finish will look after itself. Using generic detergents, harsh degreasers or silicone-based polishes quickly dulls sheen and creates patchiness that looks like wear—but is actually chemical residue.
How to fix it:
- Create a simple, printed maintenance plan with daily dry mopping, scheduled wet cleans using the manufacturer’s recommended cleaner, and periodic refresh coats where appropriate.
- Protect entrances with quality matting to capture grit and moisture.
- Train cleaning teams—show them the exact products and dilution ratios to use.
- Treat Commercial Floor Sanding as the start of a lifecycle: set reminders for inspections at 3, 6 and 12 months, and budget for maintenance coats before you wear through to bare timber.
10) Thin or missing documentation and aftercare
The mistake:
Handover day arrives and you receive keys and compliments—but not the documents you need to manage the floor for years: product datasheets, colour codes, batch numbers, method statements, maintenance guides and warranty terms.
How to fix it:
- Make documentation a deliverable in your purchase order: O&M manual, product sheets, SDS, finish schedules, exact colour recipes, maintenance instructions, and a photo log of repairs.
- Ask your contractor to demonstrate maintenance on a live area with your staff.
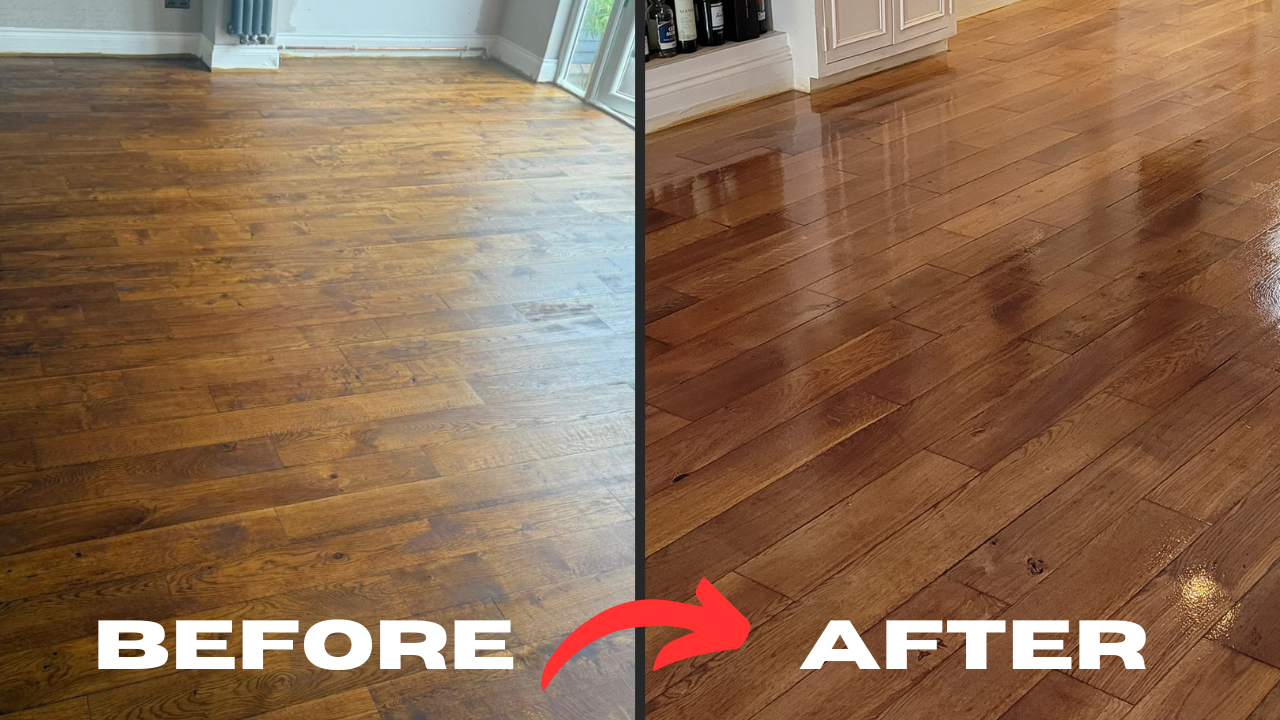
- Capture before/after images and keep them with your asset record so future teams know the history.
How to brief and evaluate contractors (without being a flooring expert)
Ask better questions:
- “Describe your dust-control setup and filtration.”
- “What’s your proposed grit sequence based on our floor’s condition?”
- “How will you handle edges, around pillars, and under radiators?”
- “What’s your gap-filling method for wider joints and why?”
- “Which finishes would you rule out for our environment, and why?”
- “Show us a trial patch and explain the visual checks we should make.”
- “Share a sample O&M pack from a past project.”
Look for these signals:
- Clear, site-specific method statements rather than generic templates.
- Realistic cure windows and a sensible return-to-service plan.
- A collaborative attitude to phasing and tenant comms.
- Willingness to say “no” to shortcuts when they compromise durability.
Budgeting intelligently (save money where it won’t hurt)
- Invest in preparation: surveys, repairs, dust control and proper edging deliver disproportionate quality gains.
- Right-size the finish: in low-traffic executive areas, a premium ultra-durable system may be overkill; in canteens and corridors, under-specifying will cost more in rework.
- Phase for occupancy: working smarter around opening hours can be cheaper than a full closure, once you factor lost revenue and goodwill.
- Plan maintenance coats before wear-through; a light refresh is far cheaper than a full re-sand.

Common red flags during the works
- The team jumps from coarse to fine grits with nothing in between.
- Edges look duller or glossier than the field under raking light.
- Dust escapes the work zone, settling on nearby stock or fixtures.
- No one is monitoring temperature and humidity (these affect cure and adhesion).
- Cure windows are shortened because “we’re running late”.
- Cleaners turn up with unapproved chemicals on Day 2.
When you see a red flag, pause and correct. Stopping for an hour is better than living with a defect for years.
Frequently asked questions
“Can we keep trading?”
Yes, with smart phasing, robust dust containment and clear wayfinding. Many sites operate in partial closure or overnight windows; the key is agreeing realistic cure times and not over-promising to tenants.
“Will the finish be slippery?”
Slip resistance depends on product choice, sheen and housekeeping (especially how floors are cleaned). Discuss slip-resistance data with your contractor and align to your risk profile and cleaning regime.
“How long will it last?”
Durability is a function of footfall, matting, chair protection, cleaning products and timely maintenance coats. With a good plan, you can extend intervals between major refurbishments significantly.
A sample 90-day aftercare plan
Day 0–7:
- Light foot traffic only once the finish is ready; use protective sheets for displays.
- No adhesive tapes on the new finish.
- Fit felt pads and glides to all furniture returned to the area.
Week 2:
- Staff refresher on the approved cleaning products and dilution ratios.
- Inspect high-traffic lanes and entrances; add temporary runners if needed.
Week 4–8:
- First maintenance audit: look for scuffs, early dulling or edge issues.
- Top-up felt pads, replace any that have fallen off.
Week 12:
- Formal review with your contractor to schedule the first maintenance coat if appropriate for the finish system.
Bringing it all together
Great floors don’t happen by accident. They’re the result of honest surveys, disciplined preparation, smart phasing, the right finish—and a maintenance plan your team can actually deliver. Get those elements right and your timber will look better, last longer and be easier to live with day to day. Skip them and you risk disruption, complaints and premature wear.
Ready to plan Commercial Floor Sanding without the drama? Use the checklist above to brief suppliers, challenge assumptions and build a programme that keeps your site open, your stakeholders happy, and your floors looking superb for years.